The Top 5 Mistakes People Make With Mulch
- adaralp
- Aug 5, 2025
- 4 min read
Mulch: it seems simple, and it really is one of the best garden helpers out there. Life’s better for your plants and cleaner for your yard when you get it right. But—like a lot of things in landscaping—there are a few easy mistakes that can hold you back from having the best results. Let’s break down the top five mulching mistakes people make, why they happen, and how you can avoid them for a healthier, better-looking landscape.
1. Using Too Much Mulch
The “more is better” approach doesn’t always work in the garden, especially when it comes to mulch. Many homeowners drop down a thick layer—sometimes 4 inches or more—thinking this will better block weeds and hold in moisture all summer. In reality, too much mulch does exactly the opposite of what you want:
It suffocates plant roots by cutting off air and water.
The thick blanket can trap excess moisture, leading to root rot and fungal diseases.
Over-mulched areas stay soggy, making a great place for pests like slugs and carpenter ants.
It can smother smaller annuals, perennials, and even new shrubs, stopping sunlight from getting to them.
The sweet spot for most gardens? Shoot for a layer about 2 to 3 inches thick.
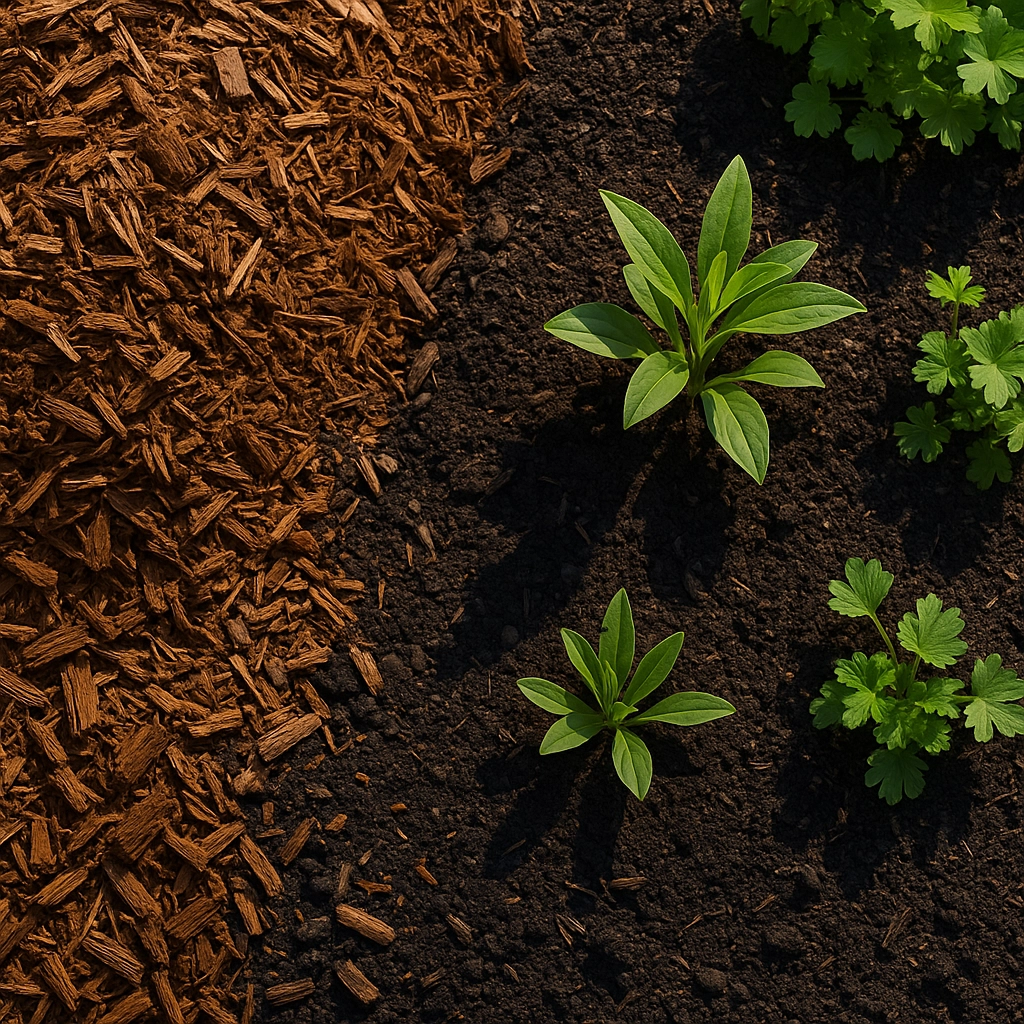
For flower beds, stick to the lower end—just enough to shade the soil and stop weed germination, but not so much that you’re building a mulch fortress. If you can’t see the soil at all, but it’s not a spongy mound, you’re probably set.
Pro tip: For beds that are already mulched, don’t just keep adding more every season! Gently rake and “fluff” the old material first before topping it up.
2. Volcano Mulching Around Trees and Shrubs
Ever seen that pile of mulch, stacked up high and tight against the base of a tree trunk, shaped like a mini volcano? Yeah, that might look tidy for a few weeks, but it’s one of the most damaging mulching mistakes you can make.
When you pack mulch up against the stems or bark like that, it locks in moisture right where it shouldn’t be: against the bark and crown of the plant. This:
Encourages rot and fungal diseases
Provides a cozy home for rodents and insects
Can choke off oxygen and weaken the plant’s base
Over time, it can even kill the tree or shrub
Instead, give your plants a little breathing room. Always pull mulch 2-3 inches away from the trunk or main stem, forming a donut shape (not a volcano). The center should be bare, and the mulch should be even in thickness around the edge.
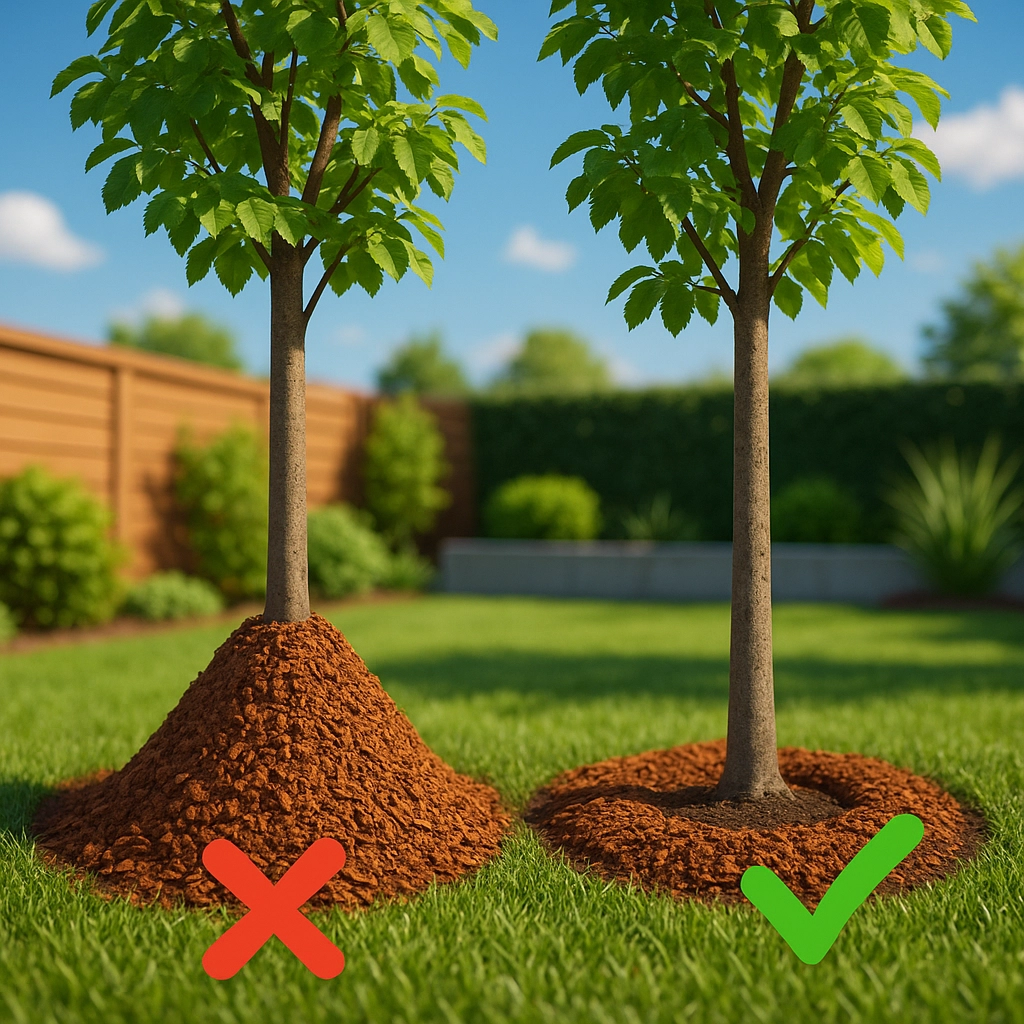
You’ll allow for proper airflow, reduce the risk of decay, and keep your trees and shrubs thriving.
3. Ignoring Weeds Before Mulching
This one’s easy to do, especially if you’re in a hurry. But tossing mulch down over active weeds is like giving them their own cozy growth blanket. Mulch can block some sunlight, yes—but perennial weeds, nutgrass, and deep-rooted baddies will just keep powering through.
Mistake: Skipping weeding entirely before you mulch, or just hoping your mulch layer will suffocate everything underneath.
Simple fix:
Before you mulch, take a few extra minutes to clear the area of weeds—roots and all.
Pull or dig, don’t just chop at the top.
Consider laying down a weed barrier, like several sheets of newspaper or unwaxed cardboard (just be sure it’s free of tape, shiny inks, or staples). This blocks tough weeds while still allowing water and nutrients through.
Skip landscape fabric unless it’s for a perennial shrub bed or pathway—fabric can make it tough to add new plants later and may cause more water runoff problems than you’d expect.
Mulch over a clean, prepped surface for the most effective weed barrier. Your future self will thank you.
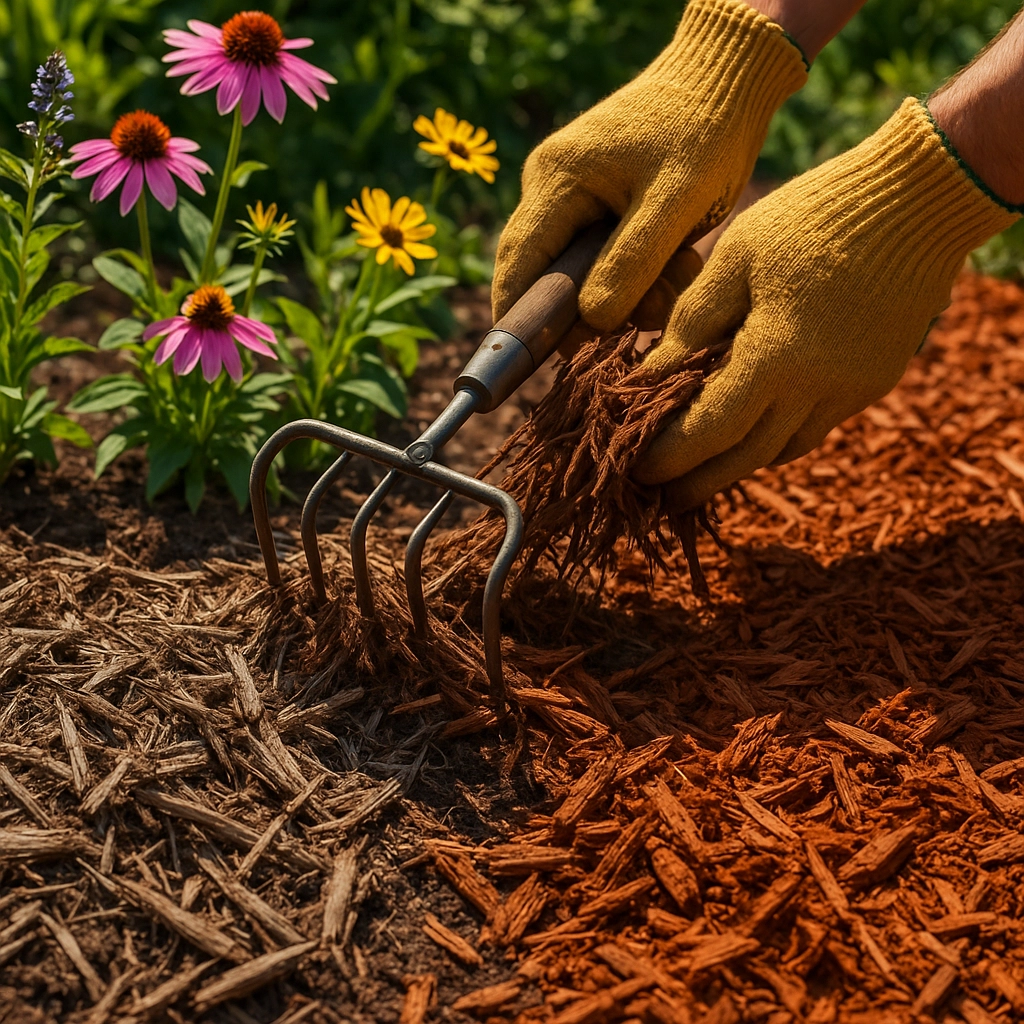
4. Not Replenishing Mulch Regularly
Mulch doesn’t last forever. Over a season (or a year, depending on what type you use), it breaks down, shrinks, and loses its good looks and effectiveness. If you never replenish or stir it up, here’s what happens:
Mulch wears thin and weeds poke through
It stops holding moisture efficiently
You lose that instant curb appeal
A little maintenance goes a long way:
Once or twice a season, check your mulch depth.
Fluff up compacted areas with a rake to refresh the look and let air down to the soil.
Add just enough new material to get back to that 2-3 inch layer.
If your mulch is already thick but looking tired, fluff first. Only add more where it’s truly needed.
Color-dyed mulch fades the quickest, especially under summer sun. If you want a consistently clean look, plan for a quick refresh in early summer.
5. Using the Wrong Type of Mulch
There’s no one-size-fits-all when it comes to mulch types. Organic mulches (like shredded bark, hardwood, pine needles, straw, or wood chips) all break down differently—some fast, some slow. Inorganic mulches (stone, rubber) aren’t right for every bed or plant, and some can reflect heat or get much hotter in summer.
Common mistakes:
Tossing down whatever mulch is cheapest, regardless of your plants’ or soil’s needs
Putting wood chips around acid-loving plants when pine needles would be better
Using landscaping rocks or rubber mulch too close to soft shrubs or vegetable beds
How to pick the right mulch:
For vegetable and flower gardens, look for mulches that will break down into rich organic matter—like shredded bark, compost, or straw.
Around acid-loving plants (azaleas, blueberries), pine needles and shredded pine bark are great choices.
Stone or gravel mulch? Save that for pathways, succulent gardens, or spots you truly want to stay put (and that can handle extra heat).
Check your soil, local climate, and what your plants love. The right mulch can improve soil, cut your watering in half, and keep everything looking crisp all season long.
Mulching is simple—when you know what not to do. Get these five mistakes out of the way, and you’re already way ahead for a healthy, beautiful landscape. If you need mulch delivery, help with installation, or want an expert to handle it for you, check out our landscape design services at Adara Lawn, Pool and Landscaping, or book online for easy scheduling. Happy gardening!
Comments